SigFig-Pod Update
25.07.2024 | 363 views | A few weeks ago I was able to get hold of a large quantity of the LEGO Darth Vader Pods from the set #5005376.
Home | All posts | 14.11.2024 18:09 | 323 views | 0 comments
Hello everyone,
in this slightly different blog post, I would like to show you a small side project of mine. As some of you may already know, I really enjoy creating personalized products. A good example of this are my SigFig Pods, which I made instead of a printed SigFig to trade with people from the community at meetings and exhibitions like the Skærbæk Fan Weekend. However, since their production is comparatively time-consuming and costly, I tend to use them sparingly. So I came up with the idea of making something smaller, cheaper but still memorable.
When I recently bought a new 3D printer, the BambuLab P1S with AMS, I came up with the idea of printing personalized LEGO-compatible elements with it. This was particularly useful because the P1S can print with up to four different colors using the AMS, the Automatic Material System.
I started by using OpenSCAD to create a simple brick generator that I could use to create plates, bricks and, in particular, tiles in various sizes. After a few test prints to adjust the tolerances, I had a well-compatible LEGO foundation.

I then added text to it and printed a few attempts, as I wasn't quite sure which color combinations and which material I wanted to use. Among them were attempts with ABS, PLA and also various printing plates such as the carbon fiber effect plate from Bambulab, which transfers its pattern to the bottom layer of the component. The effect was quite nice with darker colors, but I later decided on lighter colors.
ABS might have been a better choice of material, since LEGO bricks are also made of it, but I decided on PLA because it is more compatible with the effect plates and I already have a wide range of colors of it.
In the meantime, I also bought a hologram effect plate for the printer, which has very small grooves on the surface and thus shimmers similarly to the back of a CD. This effect is transferred to the lowest surface of the printed part and makes it shimmer in the same way.
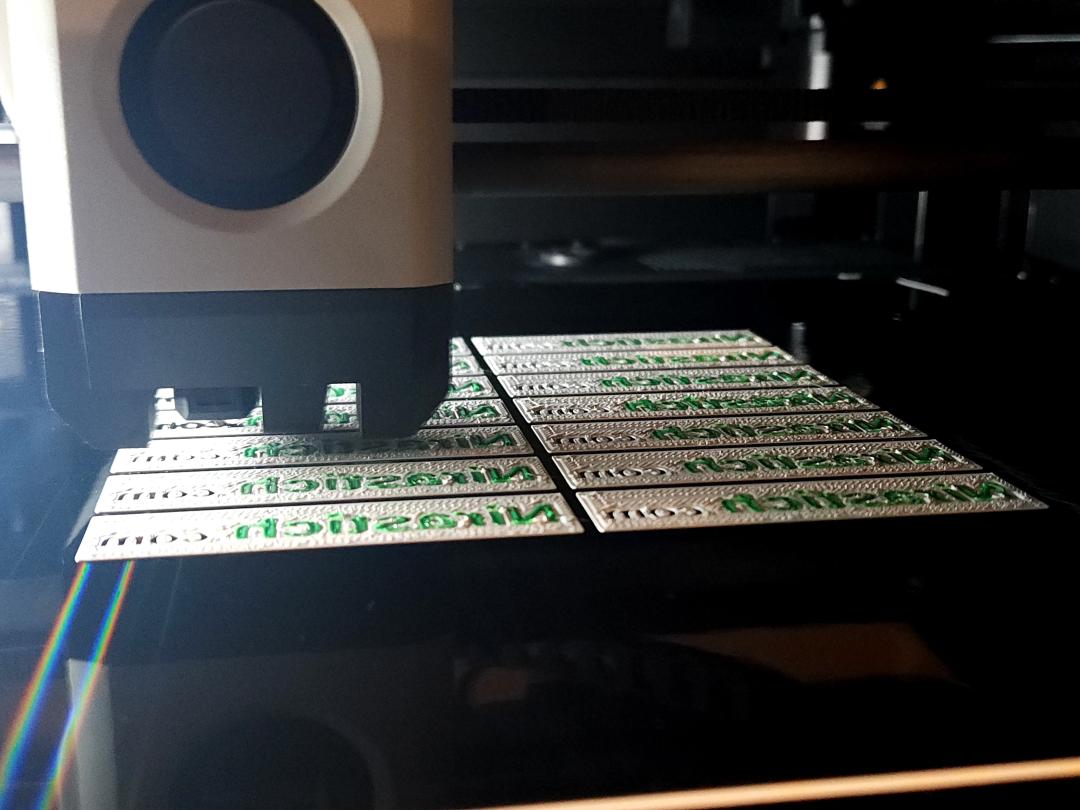
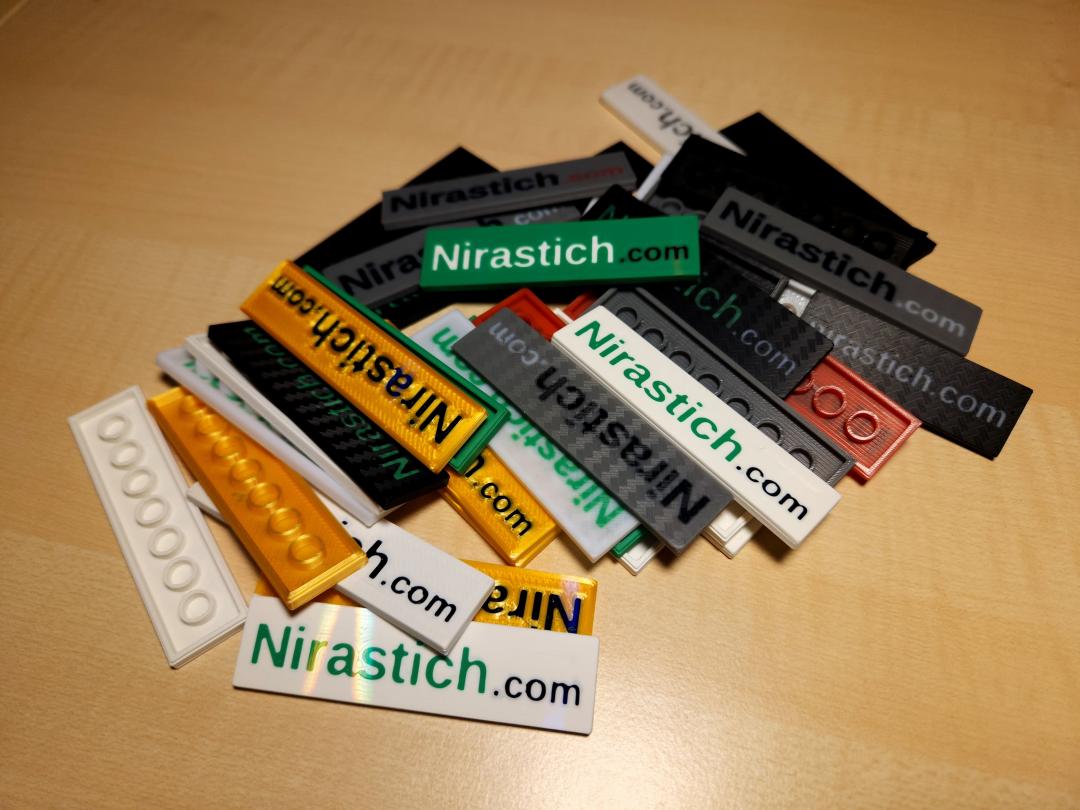
After a few tries, I finally decided on a white tile with green text, since I use almost the same green here on the website, and a black “.com” for more contrast.


I brought some of the tiles with me to this year's Bricking Bavaria in Fürth and distributed them diligently among the participants, where they were very well received for the most part. Many also thought that you couldn't tell at first glance that it wasn't LEGO.
I also used one of them for my brick badge, thanks to the smooth, shiny surface, it went well with the white LEGO bricks around it.


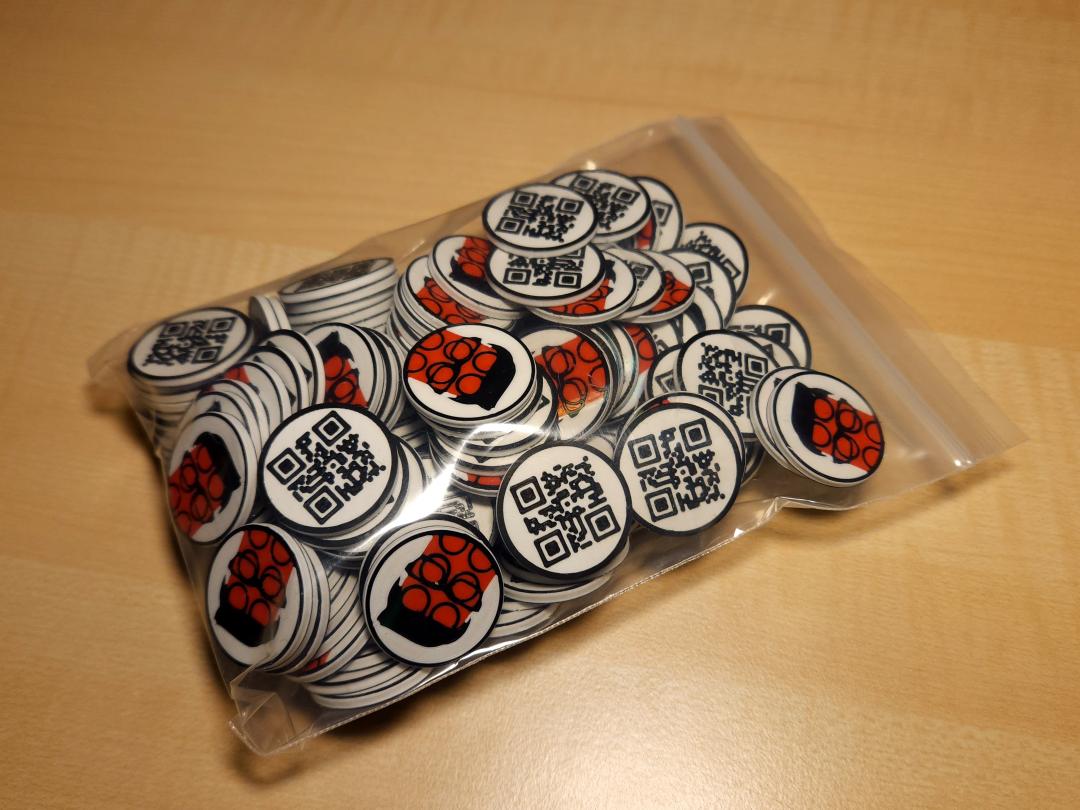
On the side, I also created a few shopping chips which can be used to unlock German shopping carts, that I provided with my initials "CL" and a QR code to my website.

I also took a bunch of those with me to Fürth. I handed them out less than the tiles, but the people who received some liked the chips quite a bit. Among them was the YouTuber Brickstory, who asked if I could create his own chips. Especially since their production with the 3D printer is quite inexpensive.
No sooner said than done. After I got home, I created a Brickstory chip in Autodesk Inventor. I simply inserted an image of their logo and drew the contours with splines. I was then able to extrude these surfaces slightly in order to color them later in the slicer.


To prevent the QR code on the back from becoming too large and still being easily scannable later, I created a very short link using the link shortener I created shorturl.73.nu. I then converted the PNG of the QR Code into a DXF, which I was able to easily insert into Inventor.
I also printed the chips on the hologram effect plate and with a finer line width of 0.25 mm for the first layer, which, in my opinion, produced a really impressive result.


Another attempt I made was printing ABS directly onto a LEGO tile. Since LEGO is also made of ABS plastic, in theory this should adhere well to the surface. To do this, I simply fixed the LEGO part to the printing plate as centrally as possible. Since this printer sets its height to zero in the middle of the surface before printing starts, the height difference should not be a problem.

After a few tries, I was able to achieve a quite promising result. Placing the tiles in the right position was a bit tricky, but you could also print a jig for that, which was a bit much for this short experiment. Here you can see the LEGO tiles printed with ABS:


To make sorting larger quantities of LEGO pieces a little easier for me, I decided to construct my own sorting tray. This way, I could design it in a way that was most useful to me. The tray consists of a two-sided center section, which has a recess on one side and a flat surface on the other. On the outside, there are 12 connections for the individual compartments.

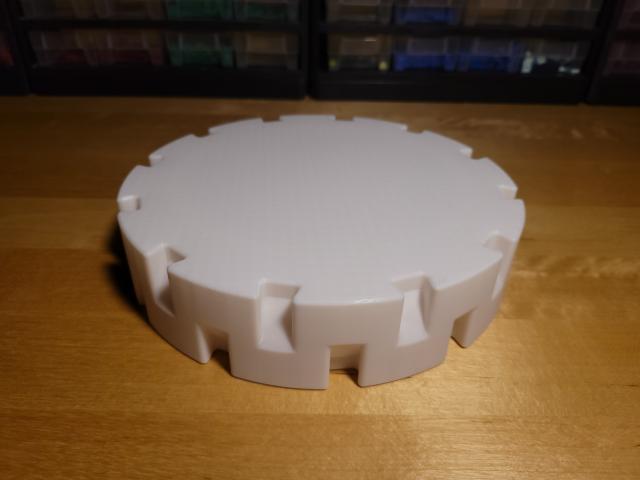
The outer containers print quite quickly, have a curve at the back so you can take out small parts better, and offer space for a good number of parts.


Once assembled, the whole thing looks like this, with a flat surface on the one side and a recess on the other:


Lastly, a few impressions during use:


When I ordered some small neodymium magnets to try them out for 3D printing projects, I had the simple idea of making magnetic bricks with them. So I quickly created a 2x4 plate that was dimensionally compatible with LEGO, without anti-studs and with space for two Ø6mm x 2mm magnets.


The concept was well received and I even received a large order for these magnets in different colors, including some that glow in the dark.


You may also be interested in this post:
25.07.2024 | 363 views | A few weeks ago I was able to get hold of a large quantity of the LEGO Darth Vader Pods from the set #5005376.
